HOW TO BUILD YOUR MOTH SKILLS
HOW TO BUILD YOUR MOTH SKILLS
Dan Neri Explains How To Get Started Sailing this Foiler
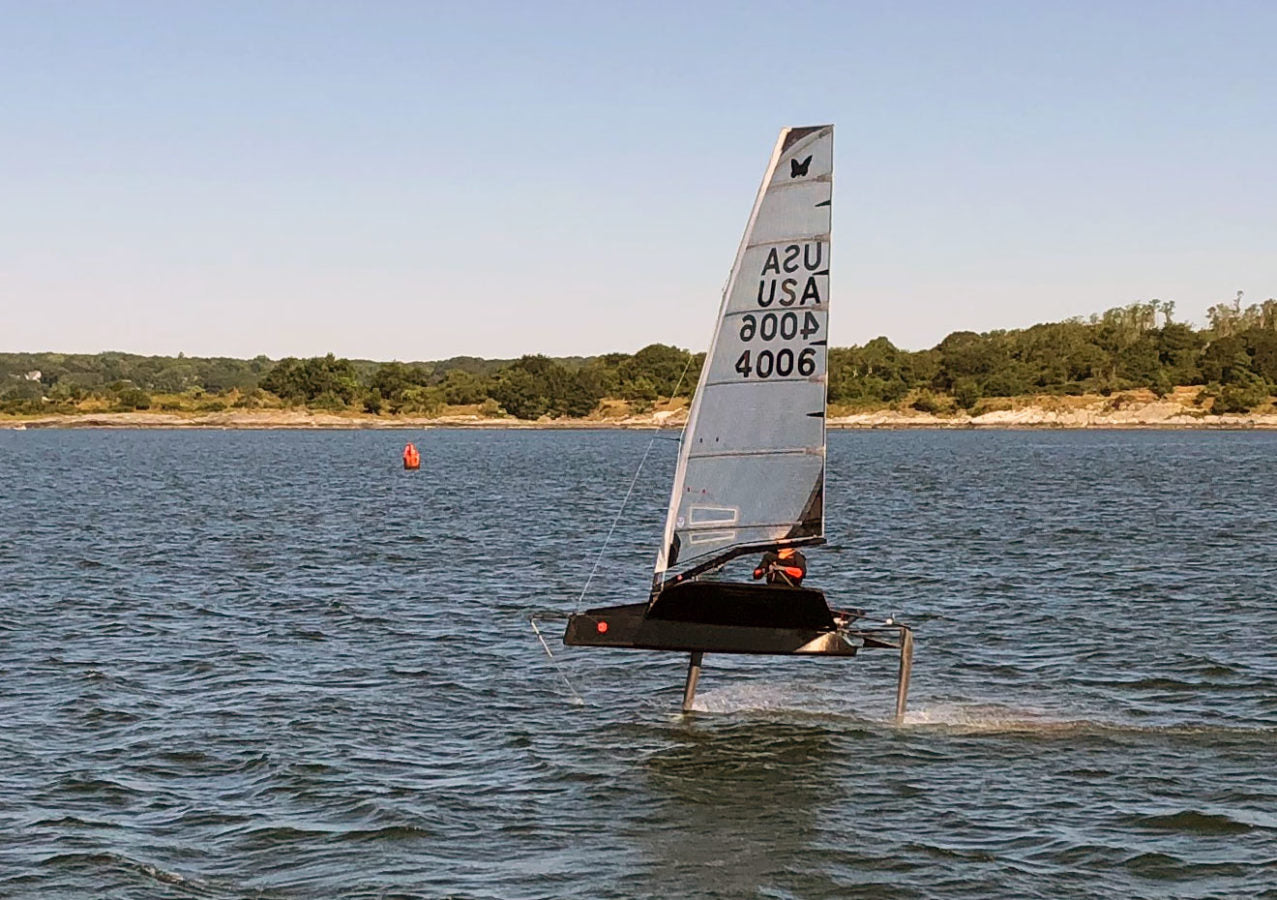
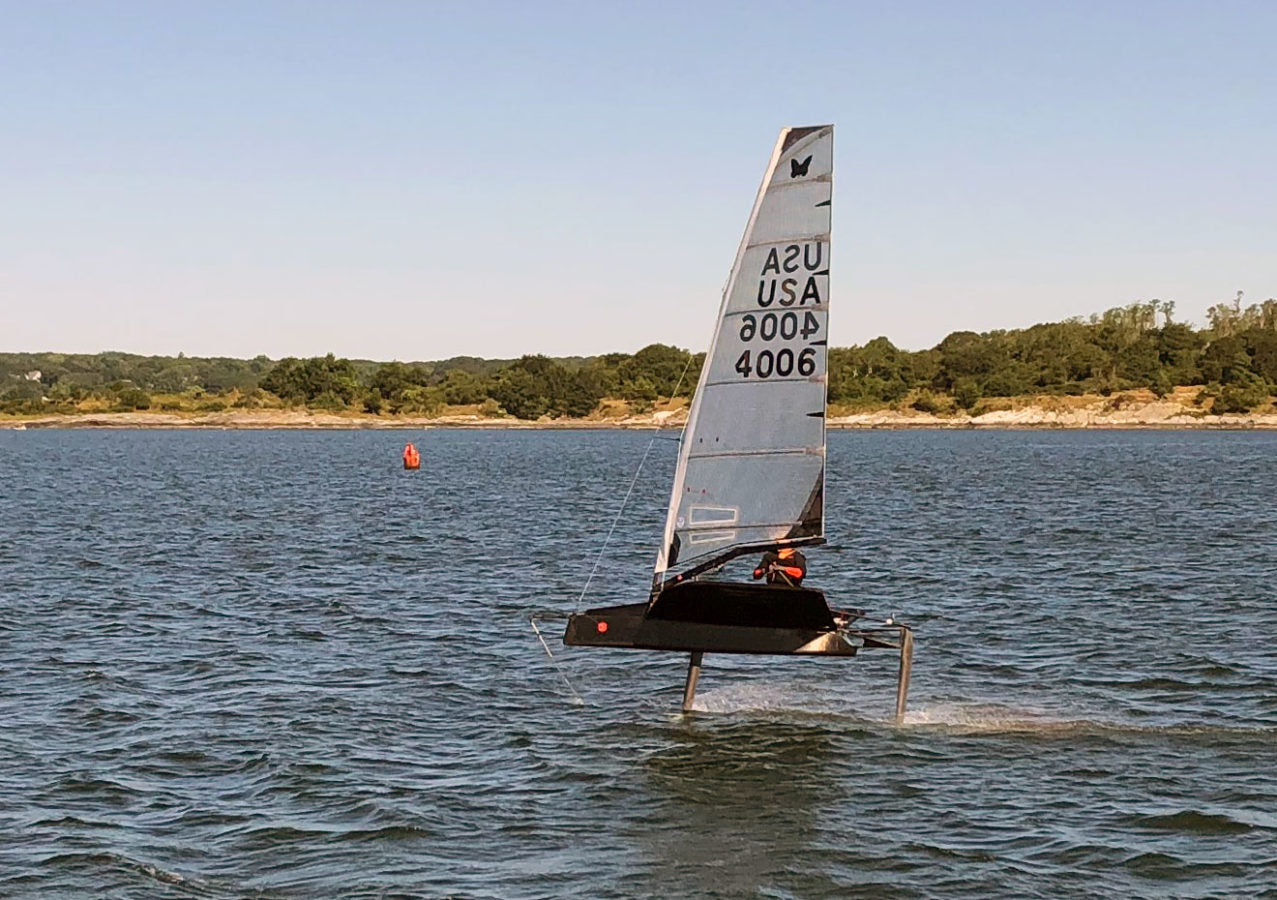
Compared to most dinghies, building the basic skill set for the Moth takes a long time. After about 40 hours of sailing the Moth, I can foil with confidence in all directions in the limited window of 8-14 knots of wind. I feel like I am close to executing a foiling jibe but have not connected two of them yet, and every tack is still an adventure with a surprise ending.
The experienced Moth sailors tell me that I am on a typical timeline. I was told that my decades of Laser sailing would help, but I don’t recognize a lot of cross over to the Laser. A skiff sailor will get there more quickly. Younger sailors probably learn faster than older sailors, but older sailors can afford to replace the broken parts! It all evens out.
Here are some lessons I have learned in my first nine months of Moth ownership that might help a fellow beginner.
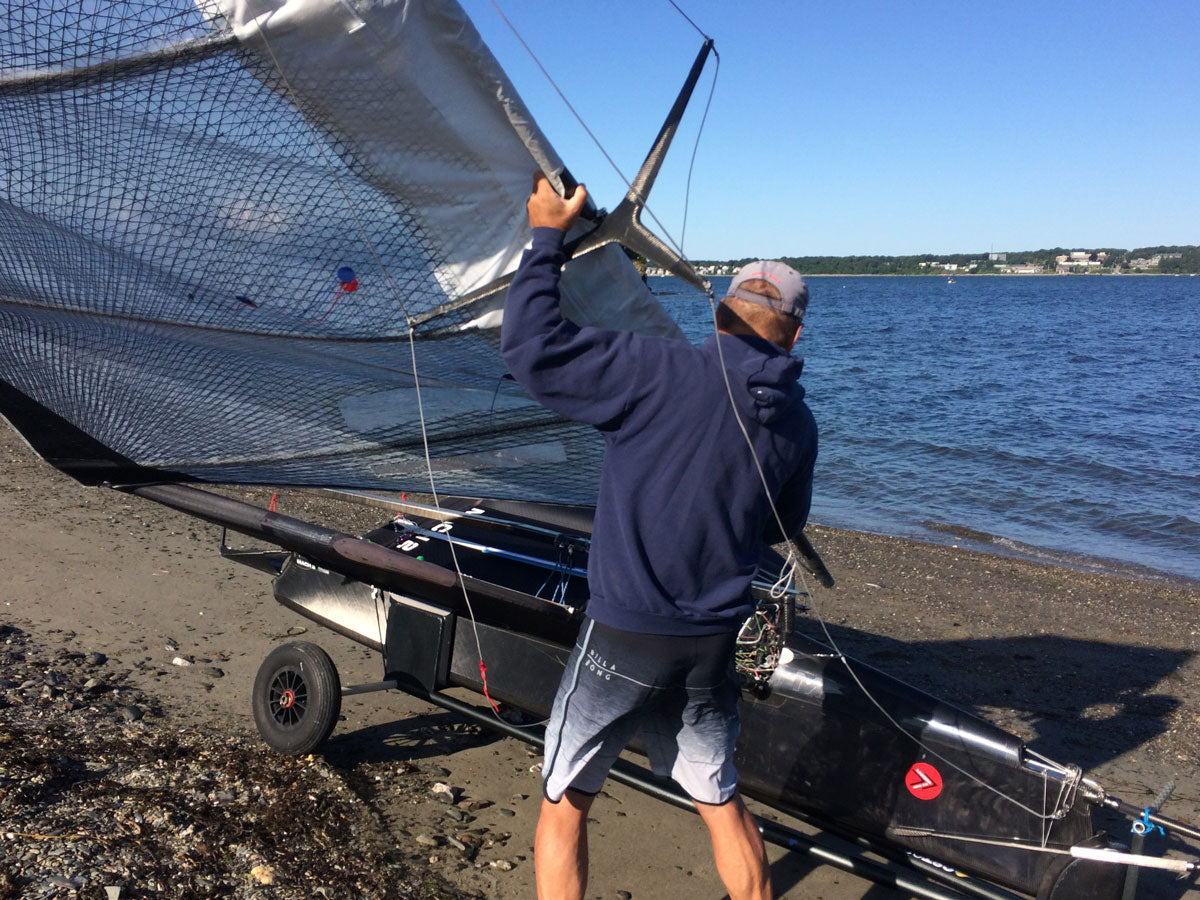
First Assembly: Study the boat manufacturer’s assembly guide. Then get an experienced Moth sailor to help you. Plan on two full days. Take your time and you will break less parts.
Rigging: Watch the Nathan Outteridge tutorials. Then get a Moth sailor to help you the first time.
(And make sure to read How to Rig a Moth in 20 Steps)
Launching: Watch the Nathan Outteridge tutorials. Rig up in your yard and practice carrying the boat around in an area with no obstacles. You will find a balance point with the boom and mainsheet on your shoulder and the mast tip and wing bar both off the ground.
Flight setup: Get a Moth sailor to help you set the ride height control (see Flight Controls below). Pull the wand all the way up. Put the gearing in the middle. Then forget about the flight controls, and pretend it is a regular dinghy.
Balancing the Moth at low speed: Look for a day with 8-10 knots of steady breeze. Practice low riding while focusing on keeping the wings out of the water. Learn to tack at low speed. Hint: you can not scull with a Moth rudder. Try to not get stuck out on your Moth in less than six knots of wind. The Mach II is happier in reverse than in forward in very light wind.
Foiling: Watch the Nathan Outteridge tutorials. Look for a 10-12 knot day. Less than 10 knots makes taking off tricky. More than 12 knots feels like a hair-on-fire experience until you get some confidence.
Plan to sail for one hour with equal time spent swimming and foiling. Sail back and forth on a beam reach and enjoy the ride. Upwind and downwind can wait for another day; the first sensations of liftoff and controlled flight are the foundation that will keep you working up the steep and frustrating learning curve.
Turning downwind: This might be easier for sailors with skiff or catamaran backgrounds than it was for a lifetime Laser sailor, but the upwind-to-downwind transition is where I’ve had my most violent crashes. It is mostly a matter of starting with windward heel and then committing to the maneuver. The more breeze there is, the more aggressively you need to move through the transition zone. Waves make it more exciting. If you don’t go home with a few bruises, you probably did not progress. Get comfortable making the turn up and down in 10-12 knots before you try it in 14-16.
Foil Jibing: Watch the Nathan Outteridge tutorials. Then plan to crash a lot.
The maneuver has a few distinct steps; get moving at maximum speed with a slight windward heel, set your back foot on the hull and tuck your front foot, swing the tiller extension to the new wing bar, and lunge across and under the boom. Let the boat carve through the turn while getting your butt fully onto the new wing bar, then switch hands. While doing that make subtle steering adjustments, pushing the tiller slightly toward whichever wing bar is higher, to keep the boat under the rig. Simple.
Sail Trim: The Moth is extremely sensitive to sail trim, but for me, there was so much other stuff to deal with (balancing the boat in particular) that I took a set-it-and-forget-it approach at first. That was a mistake. Sail trim makes a huge difference in lighter wind by generating take-off speed (with a powered-up sail) and then by reducing drag and heeling moment once you are foiling (a flatter sail than you’d think). Again, the learning curve is steeper than other boats. To make sail trim adjustments, you have to learn to grab the right control lines (vang and cunningham) without looking down to find them, and then you have to pull two feet of line without upsetting the boat, while steering with the mainsheet in your tiller hand. Easier said than done.
Flight Controls
There are four controls that dictate lift-off and ride height.
1.) Ride height adjustment: It’s critical to set the ride height adjustment barrel in the correct position. The ride height mechanism connects the wand to the main foil flap. The ride height range is set while still on land but after the boat is fully rigged, on its side. Once the range is set correctly, you can dial in a little more or less lift with the control line while sailing.
The ride height adjustment controls the position of the main horizontal foil flap. If the linkage is set with the rod too long (barrel screw opened up), the flap will be pulled up (no lift) and the boat will not take off. The opposite adjustment (barrel screw closed down) creates too much lift (a big gap between flap and vertical foil indicates the flap is pushed down, making a lot of camber) which will cause the boat to lift off and keep rising until the horizontal foil catches air (and you crash).

Experienced Moth sailors set the ride height by eye and it is a bit of a black art. If there are no expert Moth sailors available, adjust the barrel so that the flap and forward part of the foil form a fair curve when the wand is angled back about 45 degrees. Another gauge on the Mach 2 is to measure the gap between the flap and the vertical foil, which should be about 7mm with the wand all the way forward.

This shows the camber amount needed when you are up on the foils with just enough lift to keep you flying, with the wand hanging straight down and ticking the water.
Set up your ride height control line so that this neutral lift position is at the middle of the range of adjustment. If the breeze is very light, dial in more lift. If the breeze comes up, dial out some lift. As a newbie, it is easy to second-guess the ride height adjustment when in fact your technique is the problem, or to assume your technique is bad when in fact the ride height is way off. Get some help, so you can have confidence in this setting and focus on sailing.
2.) Gearing: Gearing comes into play once the boat is flying. Anthony Kotoun explains the function of the gearing control as “how much information do you want the wand to deliver to the flap.” If you find your boat is bouncing when passing over small surface waves, you have too much gearing (the flap is moving too much). If your boat is too floaty and slow to respond, the flap is not moving enough and you need to pull the gearing control down. Setting it in the middle is a pretty safe bet.

On my boat, the gearing control is the red line. If you follow it forward (towards the lower left of the photo) it connects to the black slider that is pushing down on the ride height adjusting barrel, along the curved arm. Most boats have the gearing led to both wing bars for adjustment on the fly. For now I leave it in the middle, so I have less lines to get tangled in!
The blue control line adjusts the shock cord that pulls the wand forward. In very light air, you want very little tension on the shock cord; as the breeze comes on, you want a little more. Worn shock cord makes the boat hard to control in windy conditions.
3.) Rudder angle: The rudder pin (the long pin that goes through both the upper and lower gudgeons) slides forward or aft in the rudder head, which changes the pitch, or angle of attack, of the foil at the bottom of the rudder. Changing the pin position and foil pitch controls the fore and aft flight trim. With the pin forward the rudder head moves aft, which in turn tips the foil up and creates more lift. More lift results in easier take off and more bow-down fore and aft trim. Moving the pin aft causes the rudder foil to sink and makes the boat fly with the bow higher than the stern. The pin position is adjusted by a big plastic screw inside the tiller, which is adjusted by twisting the tiller extension.
4.) Wand Length: The wand is telescoping with the length adjusted by a continuous-loop control line led to both wings. Shorten the wand for a lower fly height (better control but more drag and lower speed) and lengthen the wand to fly higher with greater righting moment and less drag (higher speed).

That probably seems like an awful lot to learn. It is, but it is also much easier to understand once you get your boat rigged up and laying on its side at the water’s edge. Pre-launch set up and check over is the only part of the Moth sailing game that you can learn while comfortably on land, without fear of crashing.
